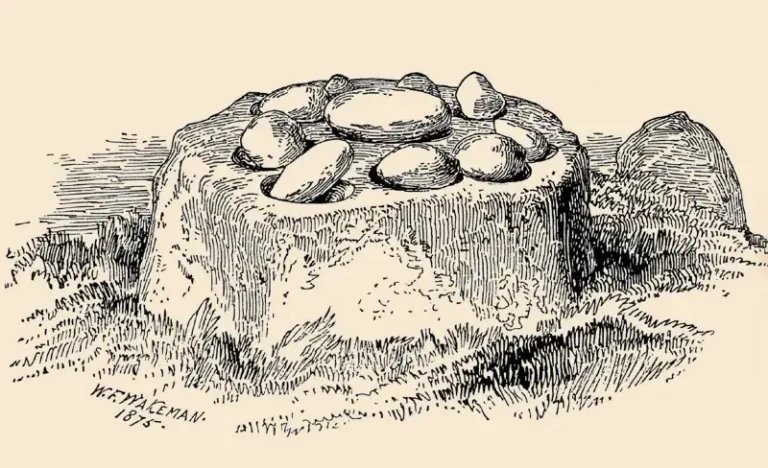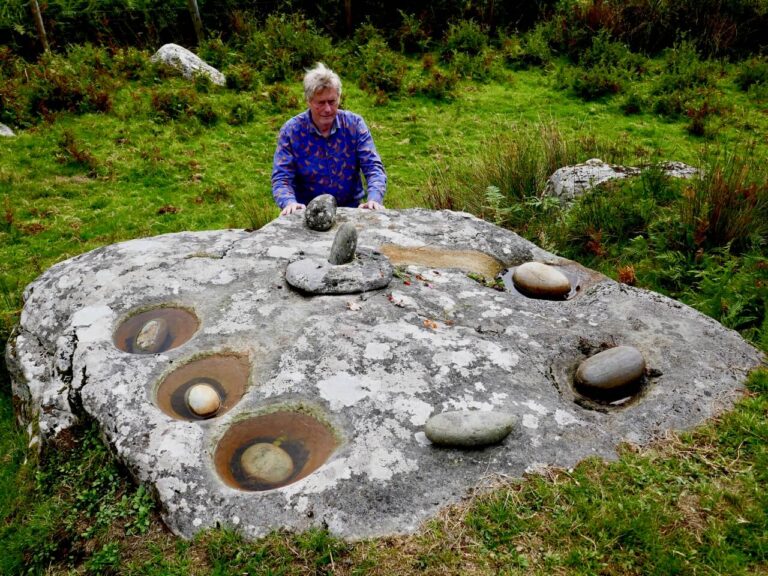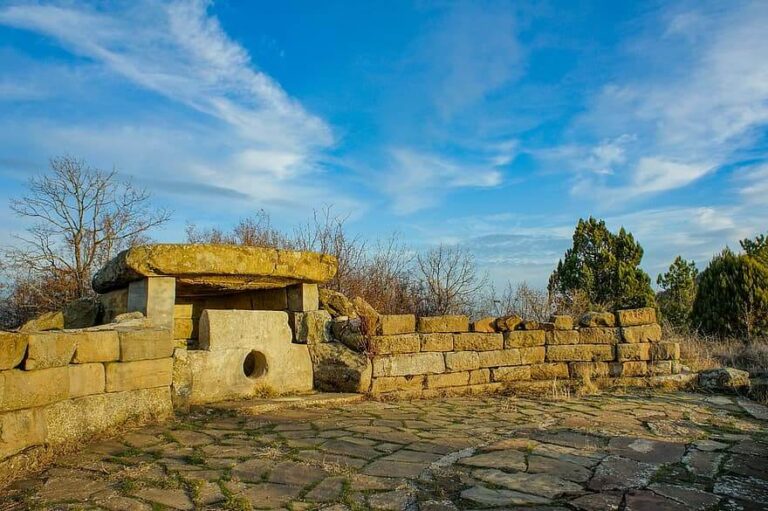
Symbolik und Bedeutung in der prähistorischen Steinkunst
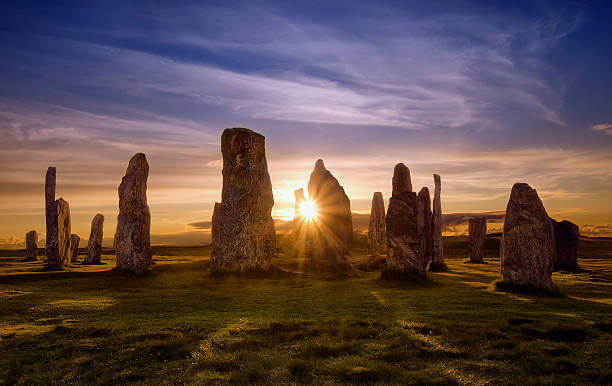
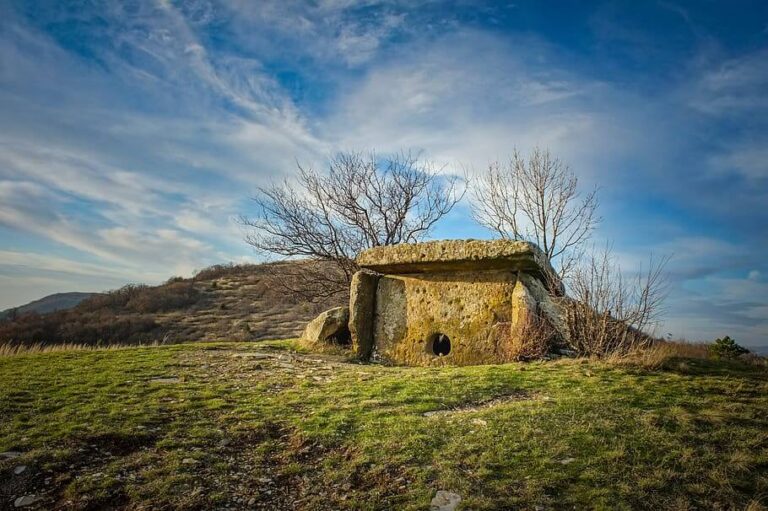
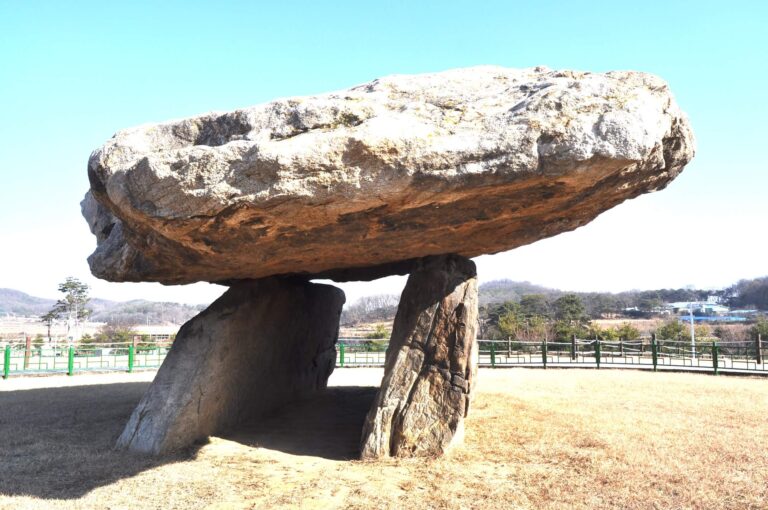
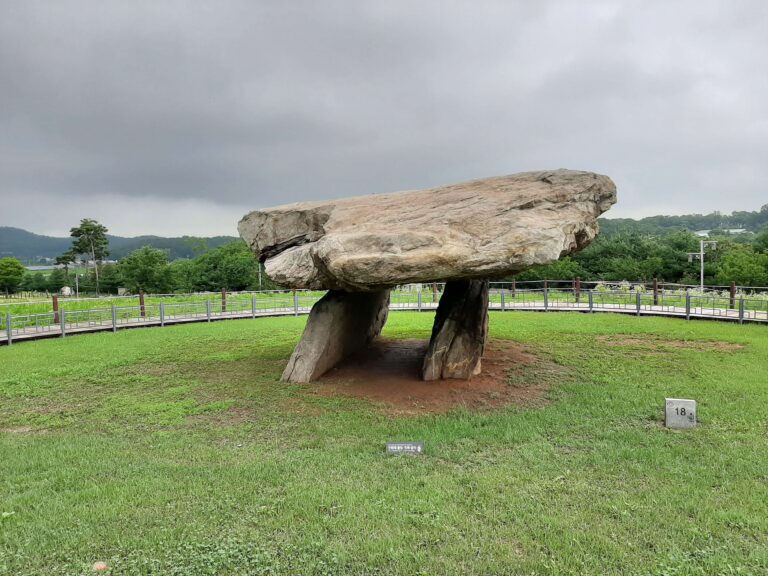
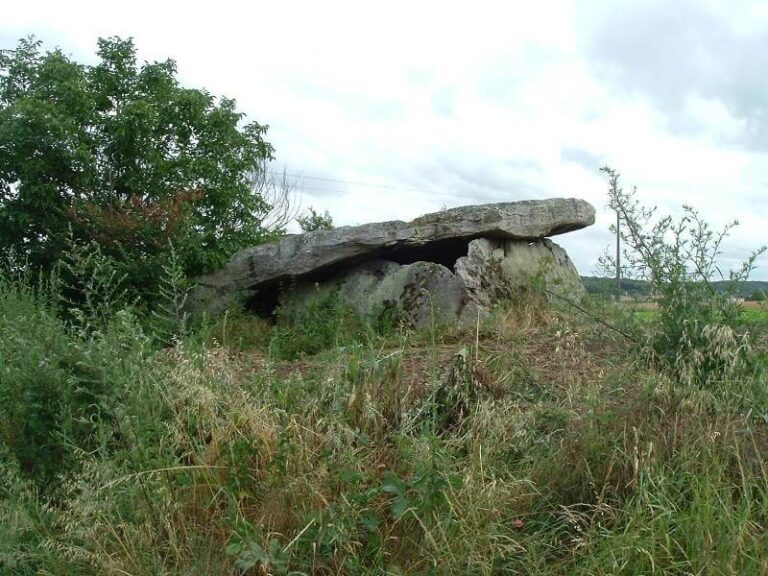
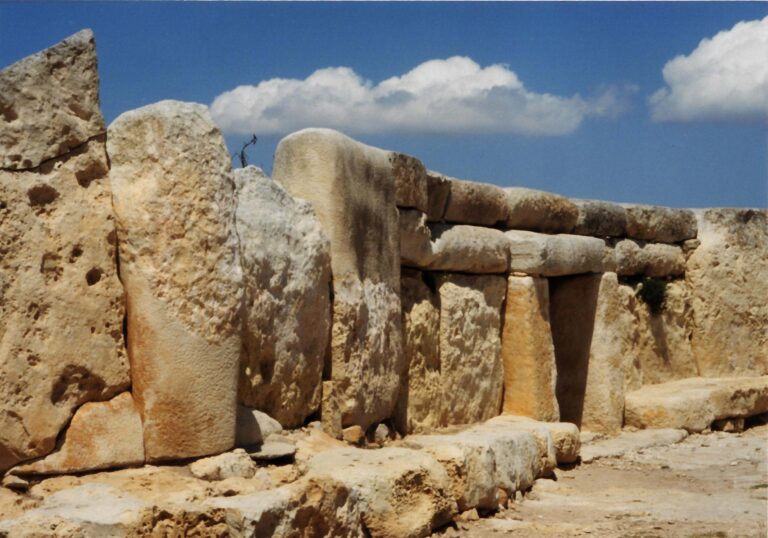
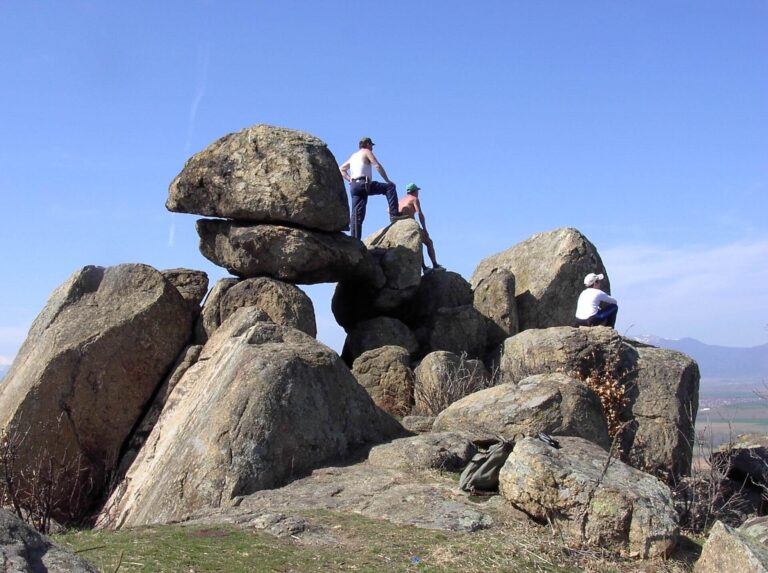
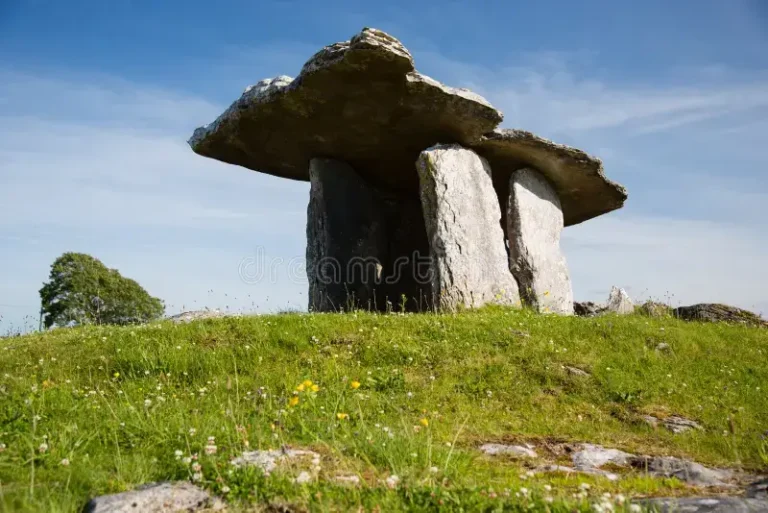
Die prähistorische Steinkunst bietet ein faszinierendes Fenster in den Geist unserer frühen Vorfahren. Diese Kunstwerke, die oft in Höhlen, auf Felsen oder als Megalithen zu finden sind, sind Zeugnisse menschlichen Ausdrucks lange vor dem Aufkommen geschriebener Sprachen. Die genaue Bedeutung vieler dieser Symbole und Darstellungen bleibt ein Rätsel, aber durch archäologische Forschungen und Vergleiche mit…